
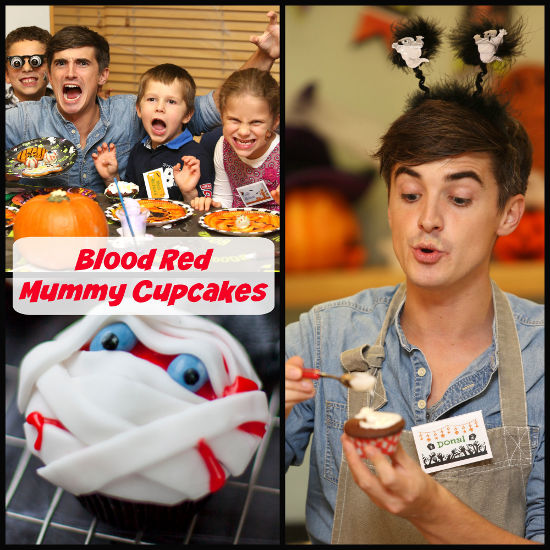
Blood Red Mummy Cupcakes
Ingredients:
Makes 12 cupcakes
225g caster sugar
225g of plain flour
180ml buttermilk
90g of butter
2 medium free range eggs
2 tablespoons of red food coloring
1 tablespoon of good quality of cocoa powder
2 teaspoons of white wine vinegar
1 teaspoon of vanilla extract
1 level teaspoon of bicarbonate of soda
90g of icing sugar
1 teaspoon of red food coloring
Smarties
Method:
1. 1/2 pack of ready to roll icing
2. Preheat the oven to 190˚C.
3. Line a 12 hole muffin tray with cupcake cases.
4. Cream the butter and sugar until it becomes light and fluffy. Beat in the eggs one at a time.
5. Use a spatula to scrape down the sides of the bowl. Mix through the vanilla extract.
6. Sift the cocoa powder and flour into a bowl and then mix thoroughly into the batter in 3 batches alternating with the buttermilk until you are left with a smooth mix.
7. Mix through the red food coloring.
8. In a separate small bowl whisk together the bicarbonate of soda and white wine vinegar which will give a good fizz and then stir through the red velvet batter.
9. Using two dessert spoons, spoon the batter into the cupcake cases. Bake the cupcakes for approximately 20 minutes.
10. Remove from the oven allow to cool slightly and then transfer to a wire rack and leave to cool completely.
11. Mix the icing sugar with a few drops of cold water and the red food coloring until you you have a smooth icing.
12. Spread the icing over the cupcakes and place 3 smarties on each for the mummy eyes and nose.
13. Dust a clean work surface with icing sugar and roll out the fondant icing to 2mm in thickness.
14. Cut out 1cm wide strips the size of the cupcakes.
15. Drape the fondant strips over the mummy’s nose and then continue to pile on the strips to form the bandages.
16. Make sure to leave space for the eyes which you can give a quick brush with black food coloring for character.
Source: Bord Bia